Showing posts with label Finishing the neck. Show all posts
Showing posts with label Finishing the neck. Show all posts
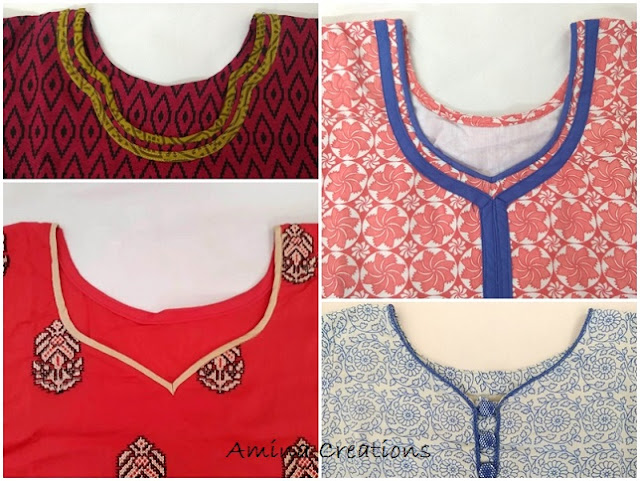
STITCHING THE NECK PART OF KAMEEZ/ TOP
For finishing the neck first place the neck of the back piece on an extra cloth and draw an outline. Then remove the back piece and mark lines as shown and cut the piece. This piece is called a facing piece.
Similarly place the front piece of the top on another extra cloth and draw the outline. Remove the piece and mark lines as shown and cut the piece. Now we have two facing pieces, one for the front and another for the back. Fold ½” along the sides of both the facing pieces and give a stitch. This is done to prevent thread from coming out. These two pieces will be used to finish the neck and will not be seen as they will be stitched in the reverse side of the dress.
Stitching the pieces
First place the reverse side of the facing piece on the correct side of the back piece and stitch on the line, ½” from the end of the neck. Then make small cuts on the extra cloth. This is done to facilitate turning of the attached facing piece. Do the same thing with the front piece.
Then place the front and back pieces of the top such that their correct sides are facing each other and stitch on the reverse side over the marked line on one side of the shoulder, and continue to stitch over the two facing pieces also. Similarly stitch at the other end. Then fold the facing pieces to the reverse side and stitch along the neck to set it in place. The neck area is now finished.
Subscribe to:
Posts (Atom)


